
Gel eyeliner is a must-have for anyone who loves makeup. It gives you the sharpness of a pencil, the smooth application of liquid eyeliner, and the ability to create different eye looks. Whether you want a sleek, bold wing or a soft, smudged effect, gel eyeliner can do it all. In this guide, we will explain everything you need to know to apply gel eyeliner like a pro, using simple steps and easy techniques.
What You Need:
Before you begin to apply gel eyeliner, take a note of the following:
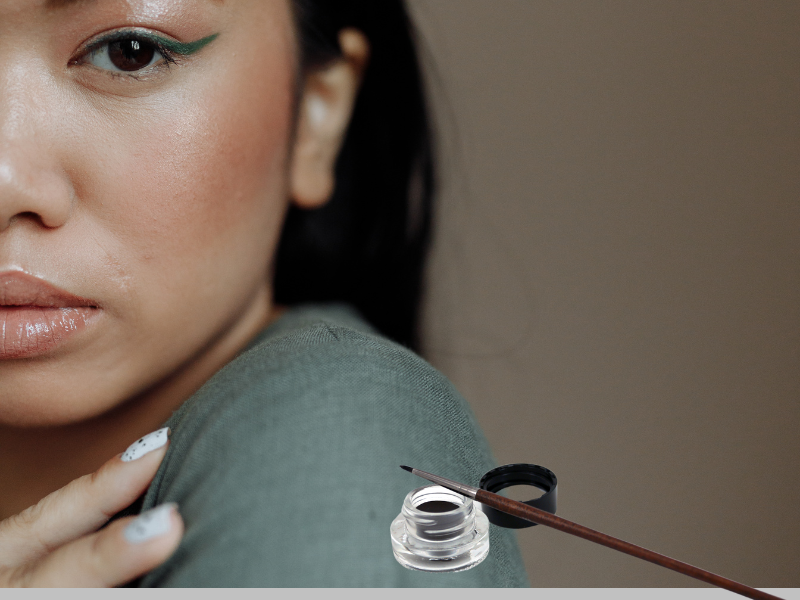
Gel Eyeliner Pot: A good-quality one should be chosen for smooth application and long-lasting
Eyeliner Brush: A thin angled brush is used for sharp lines while a fine-tipped brush is preferred for detailed work.
Makeup Remover & Cotton Swabs: These help fix small errors with ease so as not to mess up things.
Eyeshadow Primer: If your eyelids are oily, a primer will keep your liner in place.
Translucent Powder or Black Eyeshadow (Optional): These can set the eyeliner and help it last longer.
With everything prepared, let’s walk through a step-by-step guide on how to apply gel eyeliner easily and flawlessly.
How to Apply Gel Eyeliner
Step 1: Prepare Your Eyes
This means getting your eyelids ready first for smooth application of eyeliner.
Clean Your Eyelids: Use a gentle cleanser or micellar water to get rid of the oil and dirt.
Apply an Eyeshadow Primer: Helps keep your eyeliner in place and prevents it from smudging.
Set with a Light Powder: If you don’t have primer, just a little bit of translucent powder will help soak up the oil and create a smooth base.
Step 2: Pick the Right Brush
Applying eyeliner becomes easy and more precise with the right brush
Angled Brush: Sharp wings and defined lines.
Fine-Tipped Brush: Great for thin, detailed lines.
Flat Brush: Ideal for a soft, smudged look.
Clean your brushes for a smooth application every time.
Step 3: Load the Brush
It is now time to get some gel liner on your brush.
Dip the Brush Lightly: Take a little gel liner on your brush.
Remove Excess: Wipe off extra product on the rim of the pot or your hand for an even application.
Test on Your Hand: Before applying to your eyes, test the brush on your hand to check the flow and consistency.
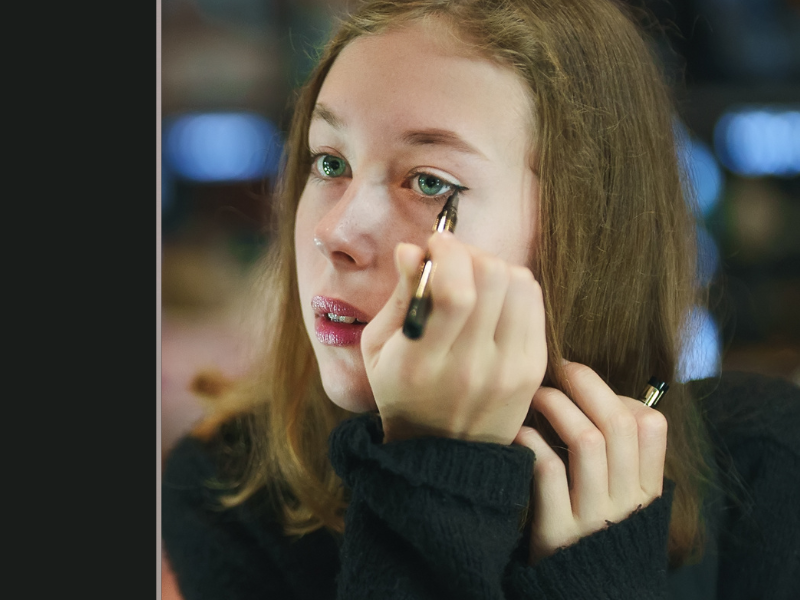
Step 4: Apply Along the Lash Line
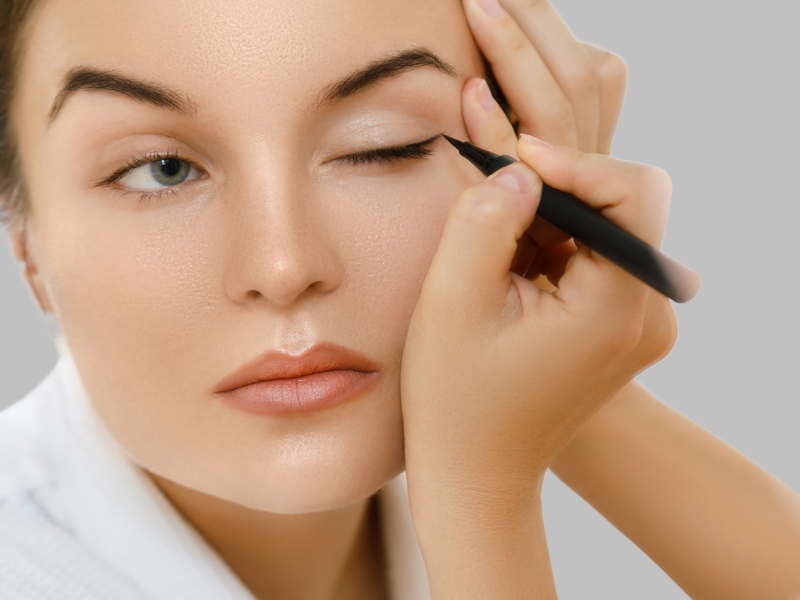
Now, let’s apply the gel eyeliner step by step.
Start at the inner corner: Starting from the inner corner of your eye, use a thin line along your lash line.
Small strokes: Draw small strokes to have more control instead of one long line.
Build up the thickness: For a thicker line, you may build it up gradually rather than applying too much at once.
Create a Wing (Optional): To create the winged effect, draw a small flick on the outer corner and connect to the main line.
Fill gaps: Go over the liner for evenness and smoothness.
Step 5: Smudge for a Soft Look (Optional)
If you want a soft look, try this:
With a Smudge Brush or a Cotton Swab: Gently smudge your eyeliner right before it’s completely dry.
Blend with Eyeshadow: Apply a small amount of dark brown or black eyeshadow on top to blend the liner.
Work Quickly: Gel eyeliner dries fast, so smudge it right after applying.
Step 6: Set It for Long Wear
For long-lasting wear, follow these setting tips to keep your eyeliner looking fresh all day:
Apply a Setting Powder: A light dusting of translucent powder locks the liner in place.
Press Black Eyeshadow Over the Liner: This helps set the liner and makes it look more intense.
Use a Setting Spray: Finish with a setting spray to prevent smudging and keep your liner in place.
Pro Tips:

Here are some extra tips to help you perfect your gel eyeliner skills:
Pick a Waterproof Formula: If you have watery eyes or need all-day wear, go for a waterproof gel liner.
Use a Light Hand: Pressing too hard can make the line too thick or uneven. Apply with a gentle hand.
Fix Mistakes with Concealer: Instead of starting over, use a small brush and concealer to correct any errors.
Revive Dry Gel Liner: If your gel liner is drying out, add a drop of setting spray or warm it up between your fingers.
You will have to try out different types of eyeliner styles, winged, graphic, or maybe a classic; whatever suits your taste.
It may not turn out right on the first go, but be assured that as you practice and perfect it, you will really shine!
Conclusion
Gel eyeliner is one of the best products for creating a variety of eye looks: sharp and bold, soft and smoky. Follow these simple steps and pro tips to master the technique and apply your gel eyeliner like a pro. Whether you are a beginner or a makeup enthusiast, practice will help you get better over time. So grab your brush, experiment with different styles, and enjoy the magic of perfectly lined eyes! Happy lining!